Discover the Fastest, Lightweight, and Highly Customizable WordPress Theme
How to Create a Back Button With Elementor
-
Jasper
- /
- Last updated on March 20, 2023Array
- /
- Elementor
Share the knowledge!
Disclaimer: WP Hustler is reader-supported. When you buy through our links, we may earn a commission. Read our disclaimer.
As a website owner, you want your visitors to have a smooth and enjoyable experience when browsing your website. One of the key elements of a good user experience is the ability to easily navigate your website. So having a back button can be crucial as part of this navigation process. In this guide, I will show you how to create a back button with Elementor in 5 steps.
By implementing a back button, you can give your visitors an easy and intuitive way to navigate your website, which can lead to increased engagement and conversions. With Elementor, a popular page builder for WordPress, creating a back button is a simple and straightforward process that can be accomplished in just a few steps. It does require some custom code, so read carefully!
By following the steps in this guide, you’ll learn how to create a back button with Elementor in 4 steps. So let’s get started!
Table of Contents
Why Do You Need A Back Button?
A back button is an essential part of any website’s navigation. It allows visitors to quickly go back to the previous page they were on, without having to use the browser’s back button. This can help to improve the user experience on your website, as visitors will find it easier to navigate and find the information they are looking for.
How to Create a Back Button With Elementor
Creating a back button with Elementor is a straightforward process. Here are the steps you need to follow:
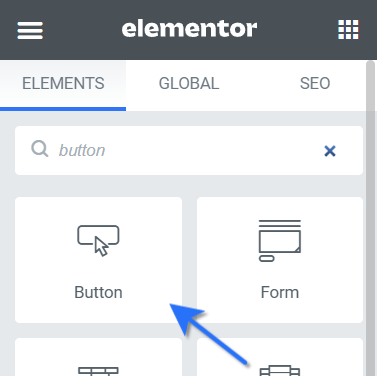
Add a button widget
The first step is to add a button widget to your page. To do this, simply drag and drop the button widget onto the page you are working on.
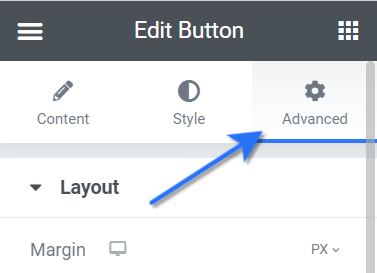
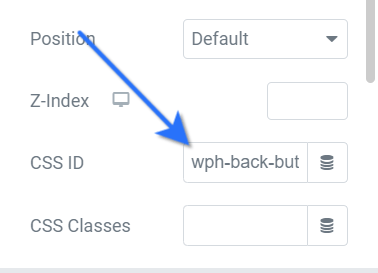
Edit the button settings
Once you have added the button widget, you have to edit the settings. In this case, we want to create a back button, to do that we need to add a CSS ID to the button. Add a CSS ID to the button by selecting the button and clicking the Advanced tab. Then enter wph-back-button as the CSS ID. You will need this ID in the next step.
Add custom code
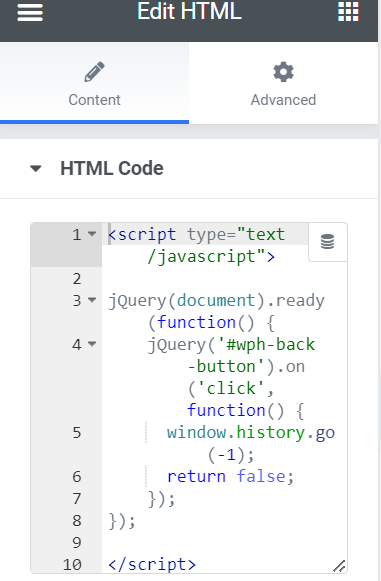
Now it gets a little more complicated. In order for the button to function correctly, you need JavaScript code. Insert the code below into your JavaScript file. Make sure the ID in line 4 is the same as your button's CSS ID.
If you're not a technical person, no problem! In the next step, you'll learn how to easily add JavaScript code to your page with an HTML widget.
					<script type="text/javascript">

jQuery(document).ready(function() {
    jQuery('#wph-back-button').on('click', function() {
      window.history.go(-1);
      return false;
    });
});

</script>
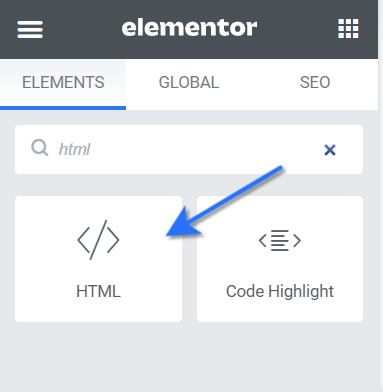
Place custom code on page
The fastest way to place a JavaScript code is to use the HTML widget. Drag this widget onto your page and paste the JavaScript code into it. If all goes well, you won't see any code on the front end.
If you do see any code on the front end, make sure you copied and pasted the whole code.
That’s all you have to do! Once you are happy with the button’s design and settings, you can save and publish the page. Your visitors will now be able to use the back button to quickly navigate back to the previous page they were on.
You can try the back button below:
Tips for Creating a Back Button With Elementor
Here are some tips to keep in mind when creating a back button with Elementor:
Tip 1: Keep It Simple
Your back button should be simple and easy to use. Don’t overload it with too many features or design elements that could confuse visitors.
Tip 2: Use Contrasting Colors
Make sure your back button stands out from the rest of your website’s design. Using a contrasting color can help to draw visitors’ attention to the button.
Tip 3: Test It Out
Before publishing your page, make sure to test the back button to ensure it is working correctly. Try navigating to different pages on your website and using the back button to make sure it takes you back to the previous page you were on.
By following the steps outlined in this guide, you can easily add a back button to your website and customize it to match your design. Remember to keep it simple, use contrasting colors, and test it out before publishing your page.
Share the knowledge!

Jasper
I am the founder of WP Hustler and I believe anyone can start an online business. You just need the right guidance & tools.
You May Also Like...
Discover the ultimate guide to effortlessly install and configure Rank Math SEO plugin, enhancing your website’s search engine visibility and organic traffic today!
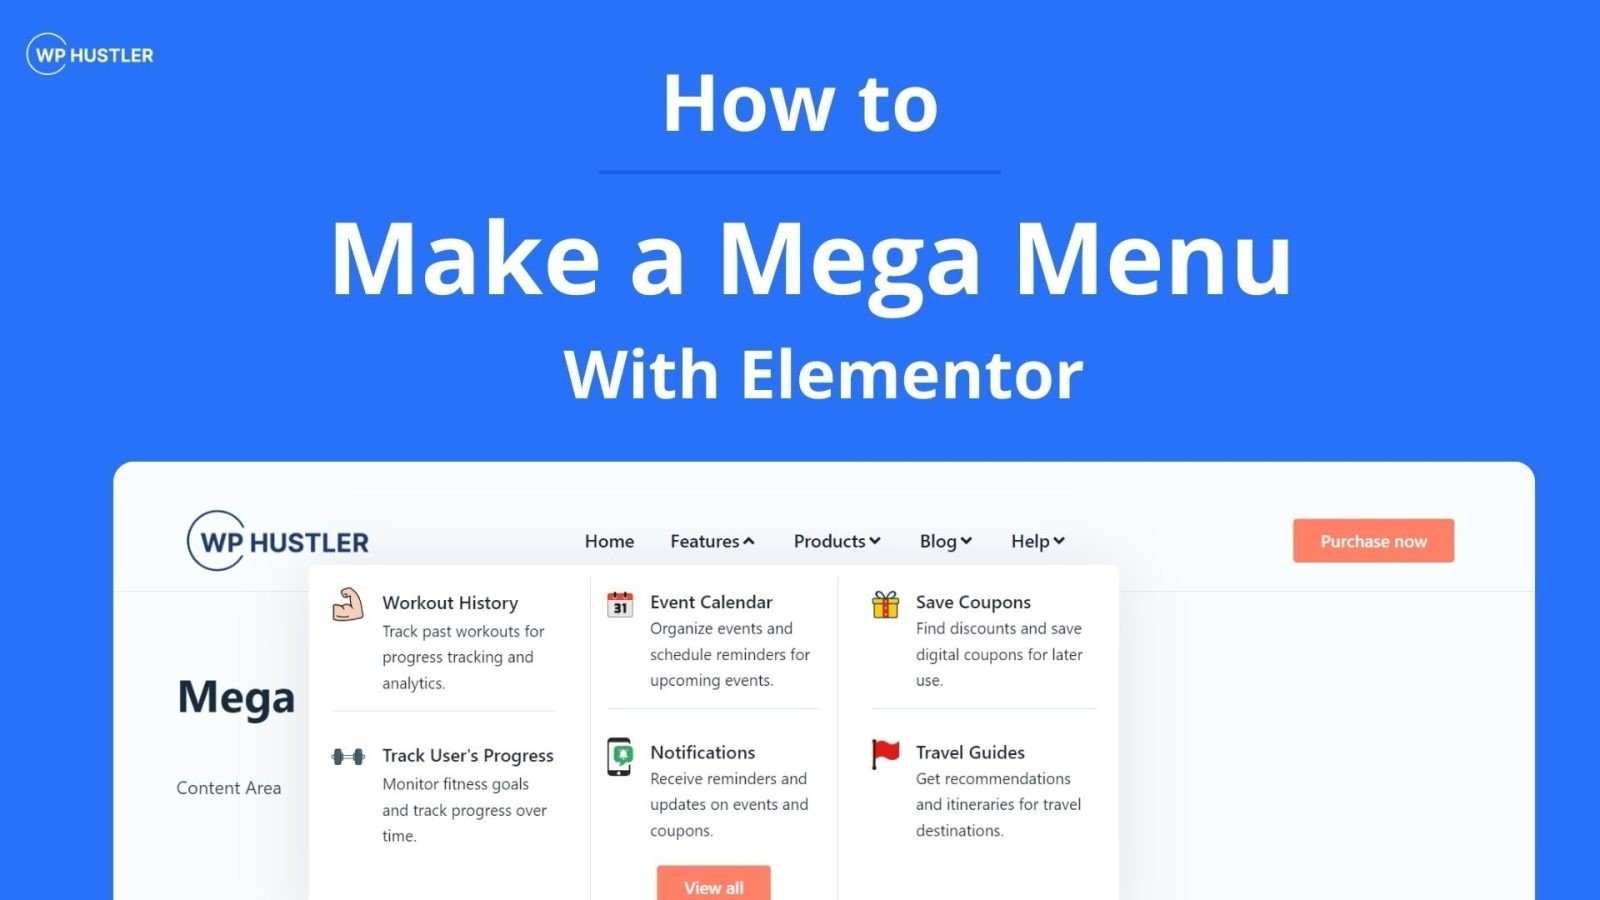
Learn how to create a mega menu with WordPress and improve your website's navigation. Follow our step-by-step guide and boost your site's user experience today.
Have you been waiting for a while for that one new update to Elementor that opens up all new possibilities? Then this guide is for you, learn how to get early access to new releases of Elementor.

WP Hustler is your go-to source for step-by-step guides on how to start an online business with WordPress. We also offer in-depth software reviews to help you make the best choices for your business.
Our goal is to help you succeed with your online ventures, and we’re here to help every step of the way!